DRIFT FUll susser is built | 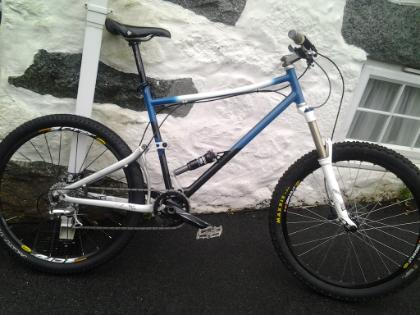 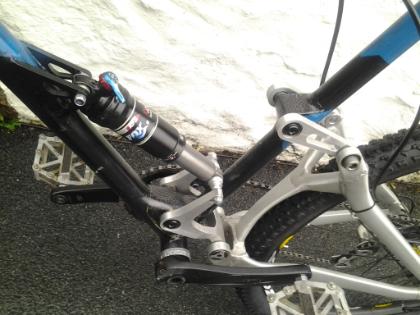  |
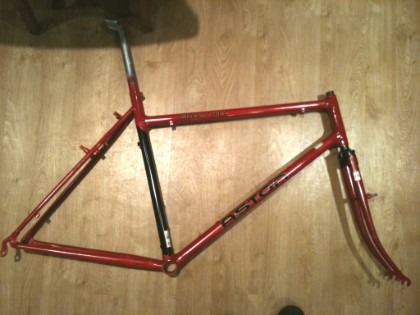
Aston: Fully built bike It is finanally finished. Deore kit, araya rims, mavic headset. Rides well and has not cracked yet. so may be some further testing. |  |
Aston: with decals
|  |
Aston: First paint
I will lug lined with some gold and then add decals. | 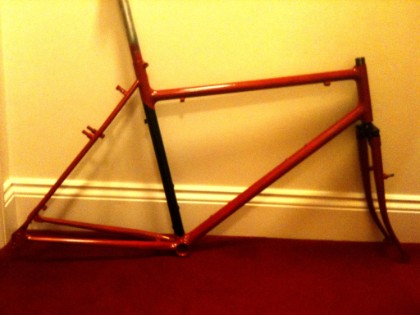 |
Aston: Final frame Finally I have finished the frame. The rear stays were a pest to mitre and in the end I used some seat tube with sand paper on to get them to the right profile. All the cable routing is on including undertube cables and pulley mount to make a bottom pull mech work. I have gone for a Ubrake fitting as well. I am just waiting for the air temp to get above 10 degrees so i cant get painting. | 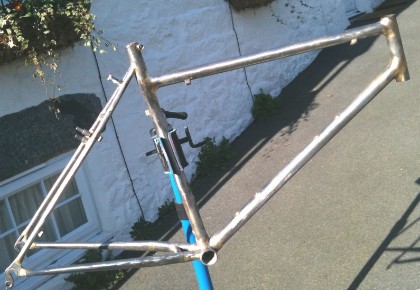 |
Aston: Stays and front triangle Since we are on the jig I though I would tack and braze the chain stays in. All looks good. Just waiting for the new rear stays the seat stays I had were too flimsey for a U-brake so some 15mm ones on there way next week. | 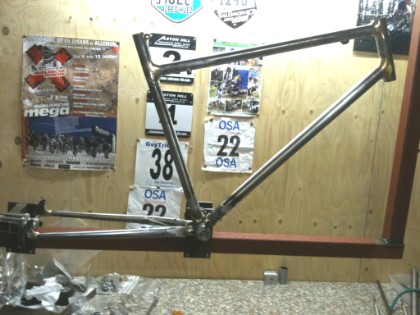 |
Aston: Front triangle Right I have brazed the down tube and seat tube into the bottom bracket. The Down tube was easy but the seat tube was nto playign the game. I think next tiem i will go full fillet brazed or i will not make them quite so tight fitting. As for the tup tube you will see that it is slightly lower than the drawing. This is because I messed up the first mitre and did not have a spare tube to re-do. So I have mitred it to fit but a little lower down (still learning). Tacked it both ends then fillet brazed. It still needs a tidy up and the rear end. | 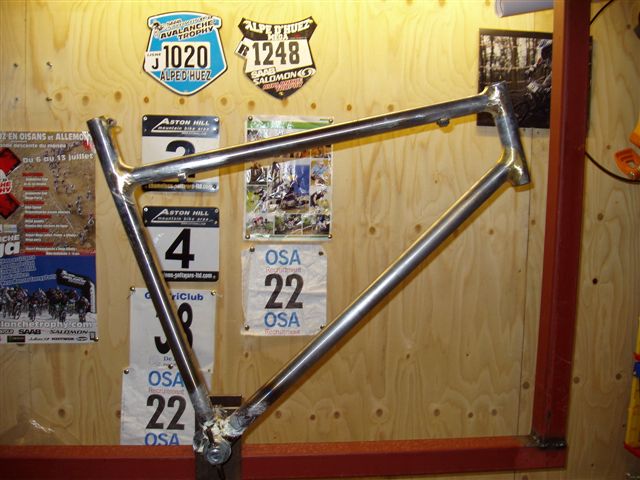 |
Aston: Pre tack checks I have been doing some work on the new frame. its coming together well. I am doing some checks before I tack and measure the front triangle then I will braze the bottom bracket and then the top tube that will be the front end done. | 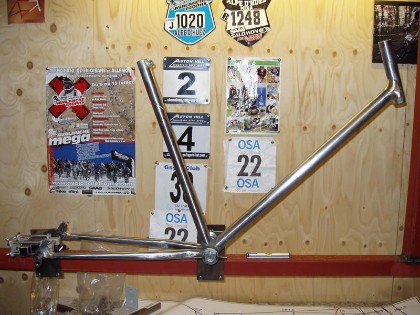 |
Aston: Headtube-Down tube I have now started work on Brazing the Aston frame together. I always start with the Headtube down tube. I went for a radius around 10-12mm to give a nice Overbury's style fillet. The angle I tried to control during the brazing by checking it a lot. It came out very close and a quick cold set and I am sure it will be on the money. It will need a tidy up then on to the next stage. | 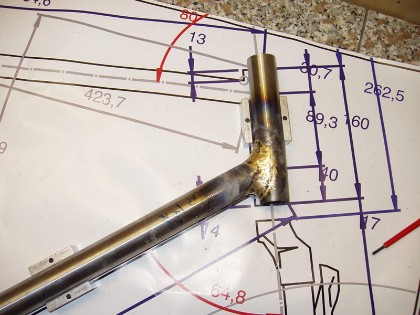 |
Aston: This is now in build. I have the tube layout printed to full scale and laid out on flat table. I have started cutting tubes. See pic Headtube Down tube mitre done. Bottom bracket mitre also done. I have tweaked the chain stays with a little heat to give better tyre clearance. the rear dropouts still need some fettling. Oh and i will need to make a Jig...err kind of important. | 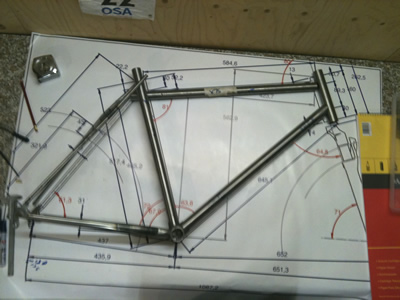 |
Time for some extra join practice. I like to use real tubing(4130 and 531) as the
thickness effect how fast you have to work and how much you have to back
the tourch off. Two mains styles i am working. 3. Half finished joint. (below) With a quick clean up and check to make sure there are no visable voids. This all looks good. I will not bother taking all the way to a finished article as its only a test joint. | 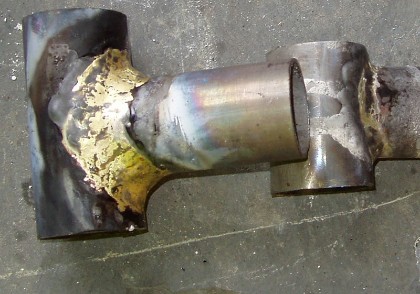 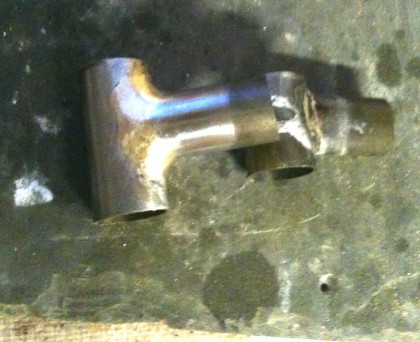 |